Servings
8
Prep Time:
15 min
Chill Time:
2 hours min.
Calories:
Srsly no
Introduction
About this Recipe
By: Dustin Nay
I combined ideas from a couple recipes & tweaked a few things. I made this first for New Year’s Eve & again yesterday because… stress baking during crazy political/mob things. Ahem.

Note: this is before I started making it with the cocoa crust… I still need to publish my plain pie crust recipe. Someday.
Note: beautiful chocolate silk pie is amazingly:
– gluten-free, low-carb, vegan (with egg substitute), dairy-free, sugar-free (with omission of optional honey)… –
I have not calculated calories or macros, so you friends who follow a ketogenic diet: these are probably keto-friendly, but I haven’t done the math to figure out the nutrients. Let me know if you do and I’ll update this page!
Ingredients List & Explanation…
Crust
- 100g almond flour (NOT almond meal!)
- 40g coconut flour
- 30g cocoa powder
- 30g granulated monkfruit sweetener (Lakanto)
- 1/2 tsp kosher salt
- 1/2 tsp glucomannan powder (konjac)
- 2 Tbsp unsweetened almond milk
- 2 1/2 Tbsp coconut oil (melted)
- 1 large egg **
Optional crust ingredients to enhance flavor
- 1/4 tsp instant coffee or Pero
- 1/2 tsp maple extract
Filling
- 325g (about 2 1/2 large hass) avocados
- 400ml (abt one 14oz. can) full-fat coconut milk
- 60g cocoa powder
- 60g powdered stevia/erythritol (powdered allulose is also a good option)
- 1 tsp glucomannan powder (konjac)
- 2 tsp vanilla extract
Optional filling ingredients to enhance flavor:
- 1/2 Tbsp raw local honey (reduces aftertaste of sweeteners if you don’t like that & adds minimal sugar)
- 1/2 tsp maple extract
- 1/4 tsp instant cofffee or Pero
Garnish (to taste)
- cut strawberries
- whipped cream
I wanted to explain some things with these ingredients, especially for those who are new to cooking low-carb, gluten-free, etc.
Baking without gluten is DIFFERENT. Because of gluten. It’s much harder to overmix dough that doesn’t have gluten, so it is not so temperamental (which is kinda nice actually).
When using almond flour, ALWAYS buy blanched almond flour (I like the Kirkland brand from Costco). Almond meal is NOT the same as almond flour.
Coconut flour absorbs moisture SUPER well, so keep that in mind when working with it.
For the “sugar,” most recipes call for erythritol, but I find the cold aftertaste of erythritol to be a little toothache inducing and acidic. Monkfruit extract in the Lakanto monkfruit sweetener blend paired with the erythritol strikes a pretty good balance. I buy it at Costco for $7/pound (yeah, much pricier than sugar, but I don’t bake THAT much, and it’s better than using granulated white sugar… eek!). You can also use allulose which is a sugar fiber which is sweet but not absorbed by the body, so it’s like having sugar that doesn’t mess with your pancreas & liver, yay! Allulose isn’t quite as sweet as sugar, so ifyou’re American & can’t stand “European” sweetness standards, you could augment allulose with some stevia extract (be gentle! it’s potent!).
For the powdered erythritol, again, I don’t like the aftertaste, so I buy the Pyure stevia powder (it is powdered stevia/erythritol blend). Note: it is about 2x sweeter than sugar per measure, so if you convert this recipe to a different sweetener, keep that in mind.
Also, you CAN buy powdered allulose, which is slightly less sweet than powdered sugar (perfect IMO). Allulose is a bit more expensive than Lakanto sold by Costco, but not by too much.
I don’t like the taste of coconut, so I use refined coconut oil. Before you gasp and yell at me because refined is made using a chemical process, breathe. Nutiva created a steam-refining process for their coconut oil which reduces coconut flavor without completely destroying all the (alleged) health benefits of coconut oil. Because coconut is mostly saturated fat, I still try to use it sparingly in my diet. According to my doctor it’s better than using animal-based fats like butter or lard, or very processed vegetable oils and shortening, and the texture is closer to butter than something like avocado oil (which I also use in baking for some things!). There are a couple other brands who have started using a steam process to refine coconut oil, but I haven’t researched them yet.
Make sure the avocados are ripe, but not too ripe. Slightly soft, green on the inside is PERFECT.
I use raw local honey because it supposedly gives a slight immunity boost especially for people with pollen allergies. I haven’t researched that, so I’m not sure how true that is, but I’ve heard that from multiple sources, & I prefer things closer to their natural state when possible anyway.
For the coconut milk, ALWAYS use full-fat coconut milk. In cooking, recipes, etc. it is almost always filling in for cream, yogurt, or the like, so you want it to be thick. When you remove fat from coconut it becomes more watery… don’t do that!
I like to add the Pero (or instant coffee if you prefer) to give it a darker tone to the chocolate, but that is personal preference really.
I also like the maple extract because it gives it a slight hint of molasses… a little richer than just sugar, but don’t overdo it unless you’re entertaining guests from Maine & you really want them to think you are weird.
**VEGAN NOTE: this recipe calls for 1 large egg in the crust. My dietary requirements are not vegan & I and my family have no egg allergies. I have not tested an egg substitute in this recipe, but one of the recipes I based the crust on was vegan using a flax egg.
Here’s a great blog which explains what a flax egg is & how to make it to substitute in baking:
https://jessicainthekitchen.com/how-to-make-a-flax-egg/


Step by Step Instructions
The Pie Crust
Ingredients
Crust
- 100g almond flour (NOT almond meal!)
- 40g coconut flour
- 30g cocoa powder
- 30g granulated monkfruit sweetener
- 1/2 tsp kosher salt
- 1/2 tsp glucomannan powder (konjac)
- 2 Tbsp unsweetened almond milk
- 2 1/2 Tbsp coconut oil (melted)
- 1 large egg **
Optional crust ingredients to enhance flavor
- 1/4 tsp instant coffee or Pero
- 1/2 tsp maple extract
Step 1
Preheat the oven to 350 F. I use a glass baking dish. You may need to adjust baking times depending on your pie dish and/or your oven. Beware!
Step 2
In a medium bowl, combine all dry crust ingredients: almond flour, coconut flour, cocoa powder, sweetener, kosher salt, glucomannan powder, (and Pero or instant coffee if desired). Sift it with a fork to make sure it is mixed & the coconut flour is not stuck in little clods. It’s important to get it evenly blended.
Step 3
Knead the dough a couple times just to make sure it’s fully incorporated. I usually mix it with a spatula and elbow grease. You could do it with a hand mixer if you like. A spatula is easier to clean afterward, so that’s why I do it that way.
Step 4
Once the dough is mixed evenly, put the ball down on your pie tin and just start to smash it out until it even covers the base and sides of the pie tin. Crimp with a fork around the edge if you want, or don’t. You want it to be about 3/16″ thick. This is impossible to roll out with a rolling pin & transfer to the pie tin, so I just smash it out by hand into the tin (make sure your hands are clean, and if desired). If the dough sticks to your hands like glue, it’s too wet, & you may want to sprinkle in a tiny bit of coconut flour to absorb excess moisture.
It’s okay if you have leftover dough after you flatten it out. Happens sometimes. Every pie tin is different.
Step 5
If you have them, put down parchment or a breathable silicone mat (I’ll try to add a picture of mine here so you know what I mean), & put your pie weights on top. If you don’t have pie weights, you can use dehydrated lima beans. You want something with a little weight to it, as otherwise, the pie crust sometimes forms bubbles while it bakes & that’s not great.
Also, I put my silicone crust guard on at this point, because that top edge usually overbakes, so this helps the crust bake more evenly. This may depend on your oven & pie dish though.
Step 6
Bake at 350 degrees for 10-12 minutes. Watch it carefully & pay attention to any burning smell. Because it has cocoa powder in it, you won’t be able to just look at whether it is golden brown or not to assess doneness.
Step 7
Let it cool completely when it comes out. I let it cool at least 10-15 minutes on the counter, then stick it in the freezer or chiller (or in January… on the back porch).
After it is fully cooled down, then you can pour in the filling & let it chill in the fridge.
The Pie Filling
Ingredients
Filling
- 325g (about 2 1/2 large hass) avocados
- 400ml (about one 14oz. can) full-fat coconut milk
- 60g cocoa powder
- 60g powdered stevia/erythritol or allulose
- 1 tsp glucomannan powder
- 2 tsp vanilla extract
Optional filling ingredients to enhance flavor:
- 1/2 Tbsp raw local honey
- 1/2 tsp maple extract
- 1/4 tsp instant coffee or Pero
Step 1
Put all the ingredients into a blender jar (Blendtec or Vitamix is great). When adding the glucomannan powder, try to sprinkle it around as it will start to thicken on contact with a liquid of any kind… you want to avoid clumping, so even mixing is important.
Alternatively, put it in a mixing bowl & use an immersion blender if you don’t want to use a stand blender.
Step 2
After measuring out all the ingredients into the blender or bowl: blend it. Stir it around with a spatula to check for any missed avocado chunks or pockets of unmixed cocoa powder (happens sometimes), reblend if necessary.
On my Blendtec I use the whole food preset which blends for 65 seconds. I usually have to scoop out a corners and reblend for 10-15 seconds after that, but then it’s done.
You can taste it at this point if you want. 🙂 It’s yummy. If it’s not yummy, try to work backwards and make sure all the ingredients are in there. Because this doesn’t need to be baked, it’s a little forgiving if you need to add in some sweetener or salt, but try not to overblend too much as it may not set as well.
Step 3
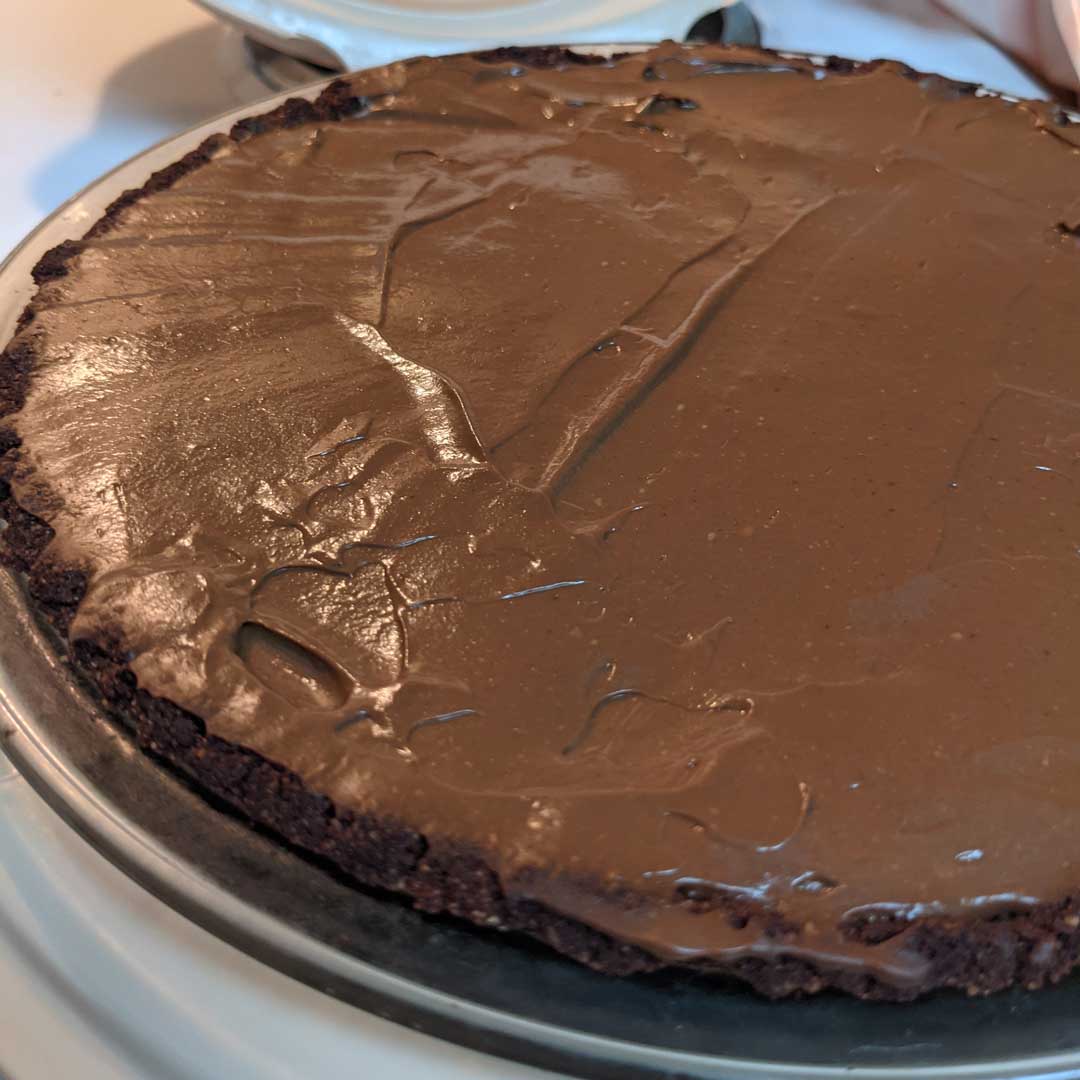
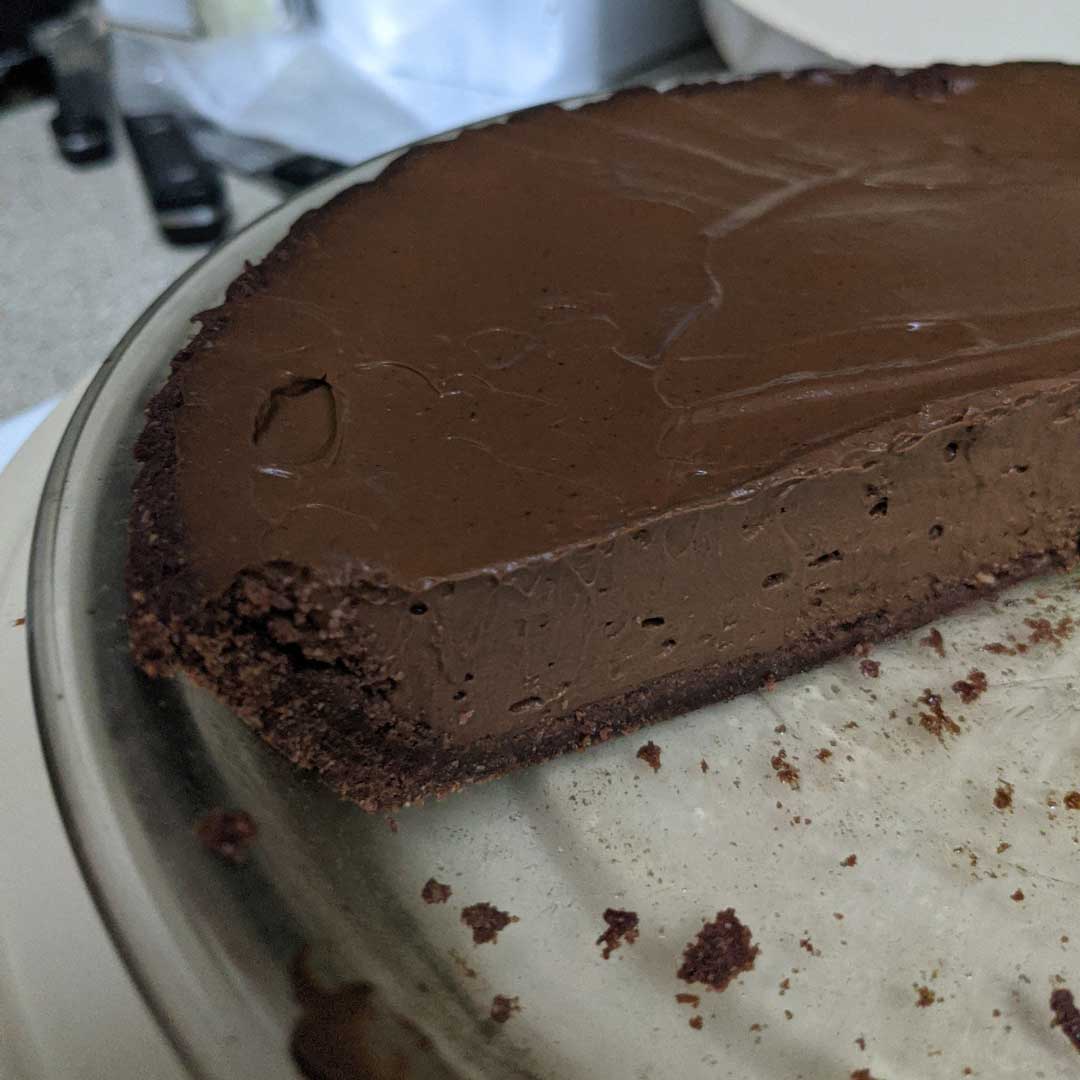
Pour it into your fully-cooled pie crust & stick it in the fridge (covered!) to chill for at least 2 hours (I prefer overnight for best results).
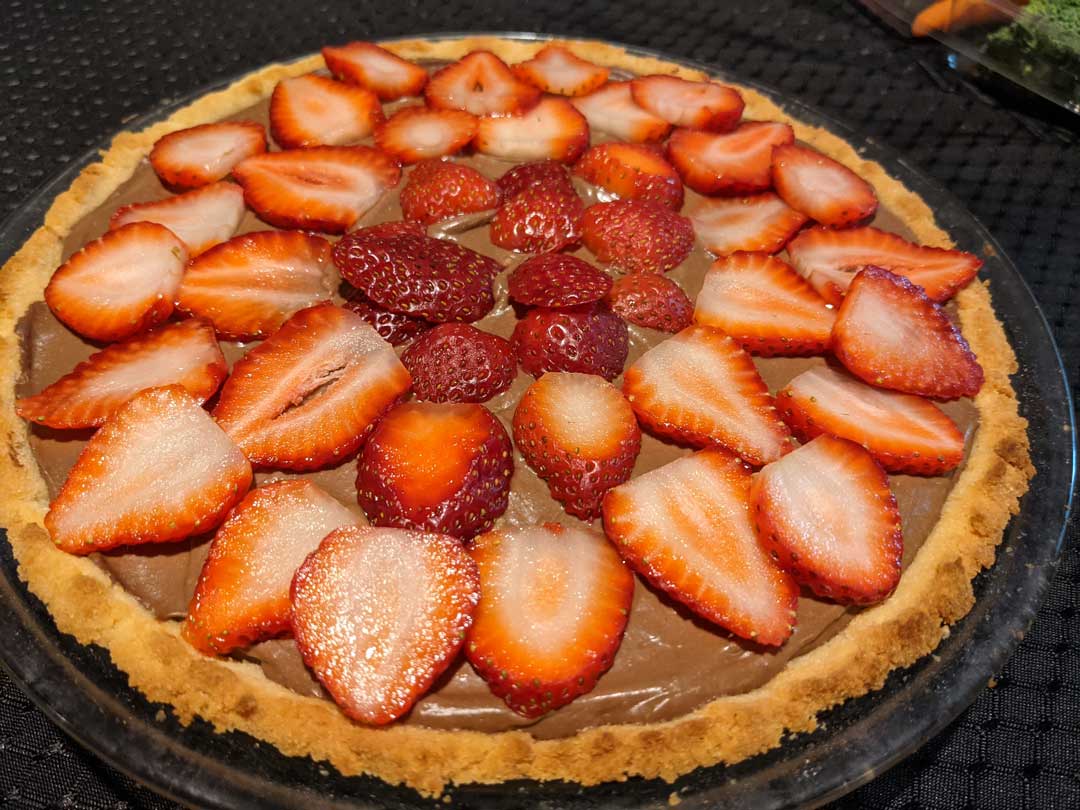
I serve it with fresh strawberries & whipped cream on top.
Whipped cream:
- 1/2 cup of heavy cream**
- 1 Tbsp powdered erythritol/stevia blend OR powdered allulose
- 1/4 tsp vanilla extract
I do this in a narrow cylindrical immersion blender jar (with the beater attachment on my Braun immersion blender… love that thing).
I beat it for about 2 minutes until it is fluffy with firm peaks. Check it if you need to because you don’t want to overmix it and break the structure either. If that happens you’ll end up with delicious but slightly mushy whipped cream (we still love it though).
**VEGAN NOTE: For dairy-free/vegan, I substitute full-fat coconut milk in for the heavy cream, but I add one teaspoon of glucomannan powder as well & start beating it immediately when the powder hits the coconut milk. This won’t be as stiff as whipped cream, but it is still yummy & works (unless you hate coconut flavor like I do… in which case I have no options for you other than praying that you either lose your allergy or prohibition on dairy or you develop a liking for coconut milk).